
Hey Kelsey here, and welcome back to a series we have called “That Cost How Muuuuch?!”. As the title suggests, this is a series where we look at products that literally make ourselves ask “that cost how much???” and figure out if we can essentially DIY them for a lesser price.
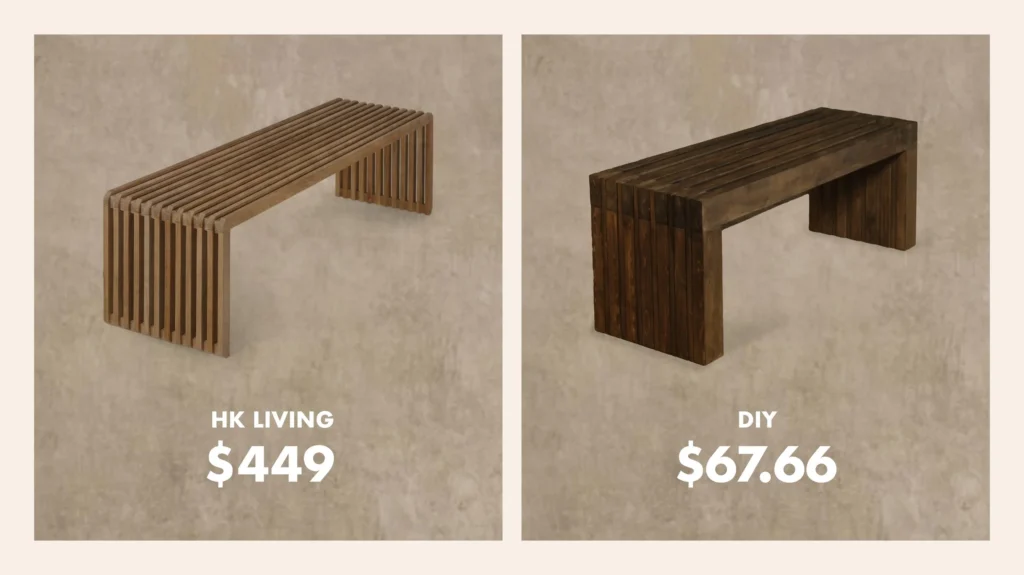
We are actually in the middle of our next big makeover for someone special. And when looking for statement pieces for the space, I was immediately obsessed with the idea of a slatted bench. But after realizing how much these cost, I knew I had to DIY it, with our main inspo coming from HK Living USA’s “Slatted Teak Wood Bench L” priced at $849USD.
- 8 planks of lumber @ 2” x 4” x 72”
- 3 planks of lumber @ 1” x 4” x 72” (Wood total: $28.85)
- Wood glue
- Approximately 100 2” wood screws ($7.68)
- Sandpaper (220 grit)
- Carpenter Square
- Drill
- Wood stain ($12.70) and top coat
How To Build Slatted Bench: A Beginner Woodworking Project
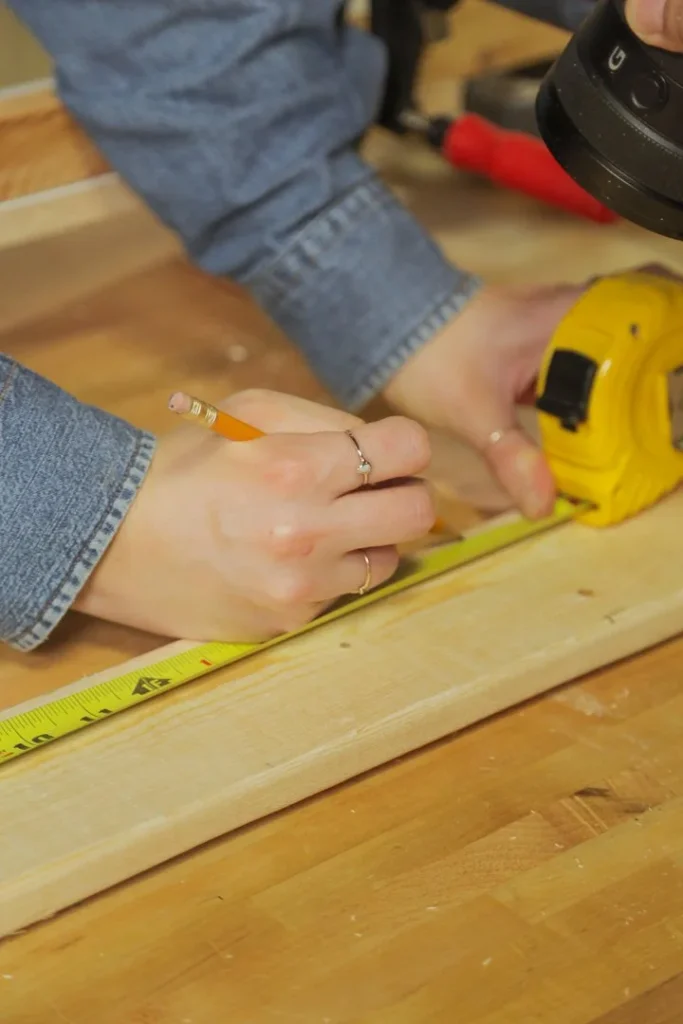
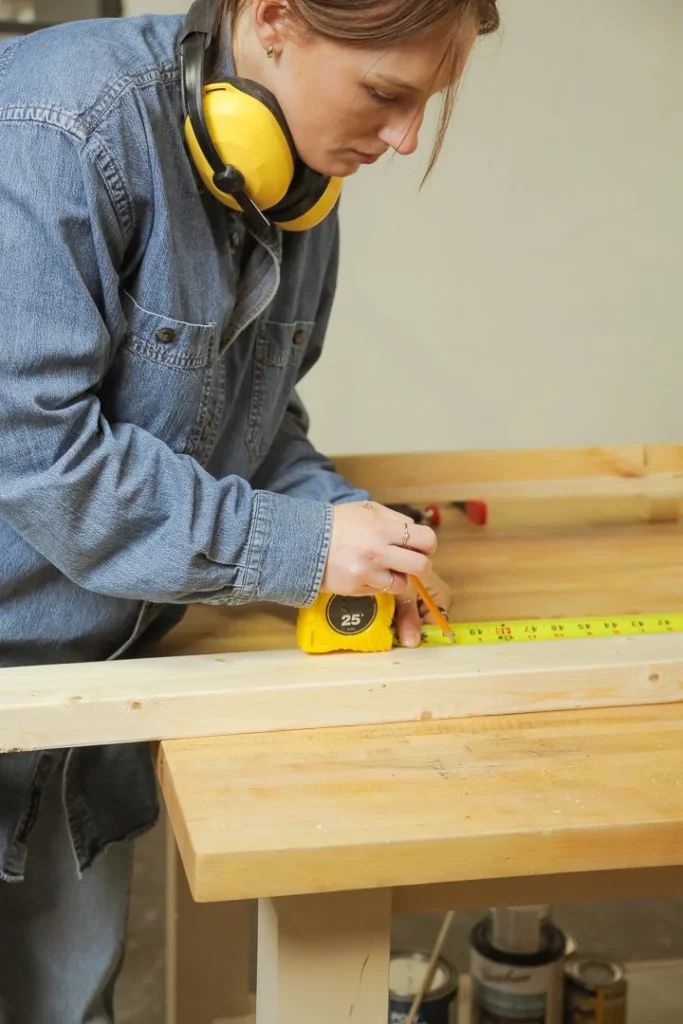
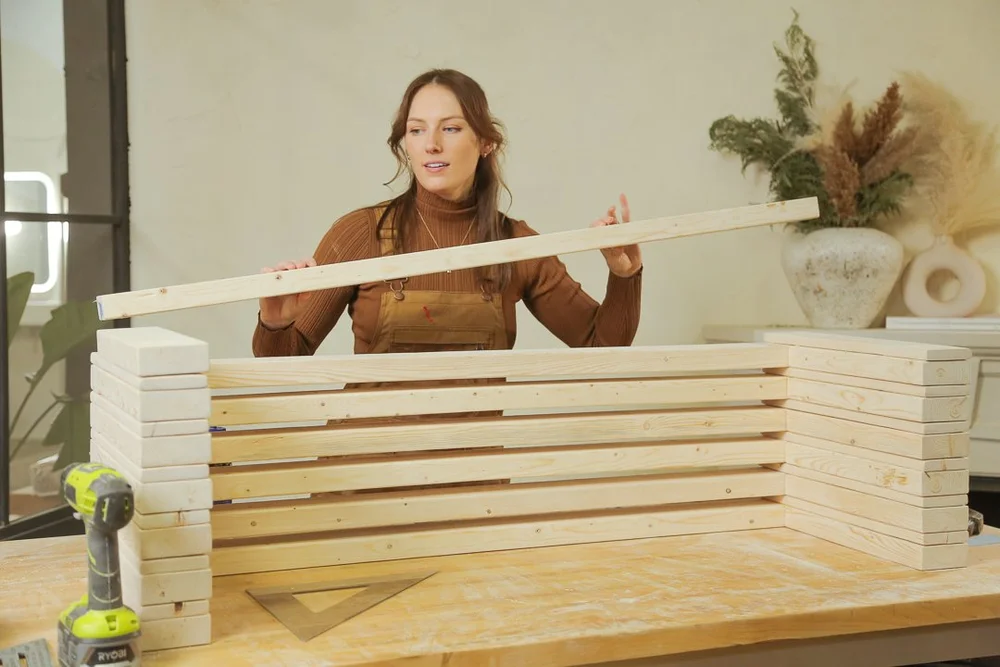
Lay out your best front-facing 2x4s, with the 2 shorter ones making up the legs, and the longer one making up the seat. This layout will serve as the foundation for your bench, so make sure your legs are at exactly 90° angles by using a carpenter square.
Lay out your best front-facing 2x4s, with the 2 shorter ones making up the legs, and the longer one making up the seat. This layout will serve as the foundation for your bench, so make sure your legs are at exactly 90° angles by using a carpenter square.
Lay out your best front-facing 2x4s, with the 2 shorter ones making up the legs, and the longer one making up the seat. This layout will serve as the foundation for your bench, so make sure your legs are at exactly 90° angles by using a carpenter square.
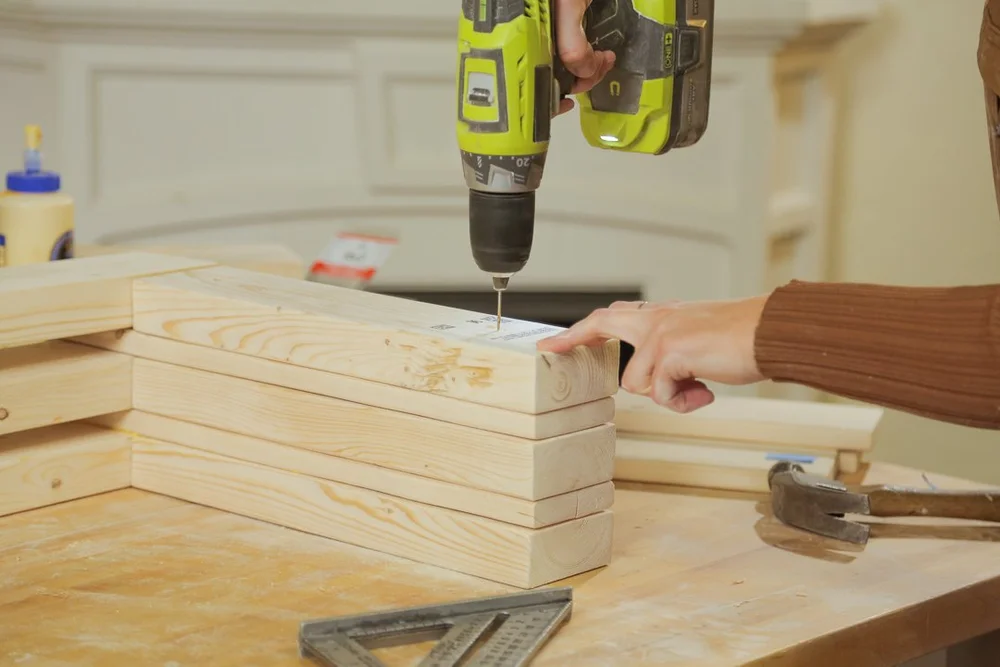
Step 4: Join the bench top and legs with 1x4s
To join your bench top and legs (as well as achieve the slatted effect) apply wood glue along the surface of your 2x4s, bridging the gap between the legs and seat. Then, carefully place a 1×4 piece across the leg 2×4 and the seat 2×4 to create a secure corner. Attach them in place by drilling 2 pilot holes in the leg portion, and 2 pilot holes in the seat portion, and then screw them together.
Step 5: Repeat
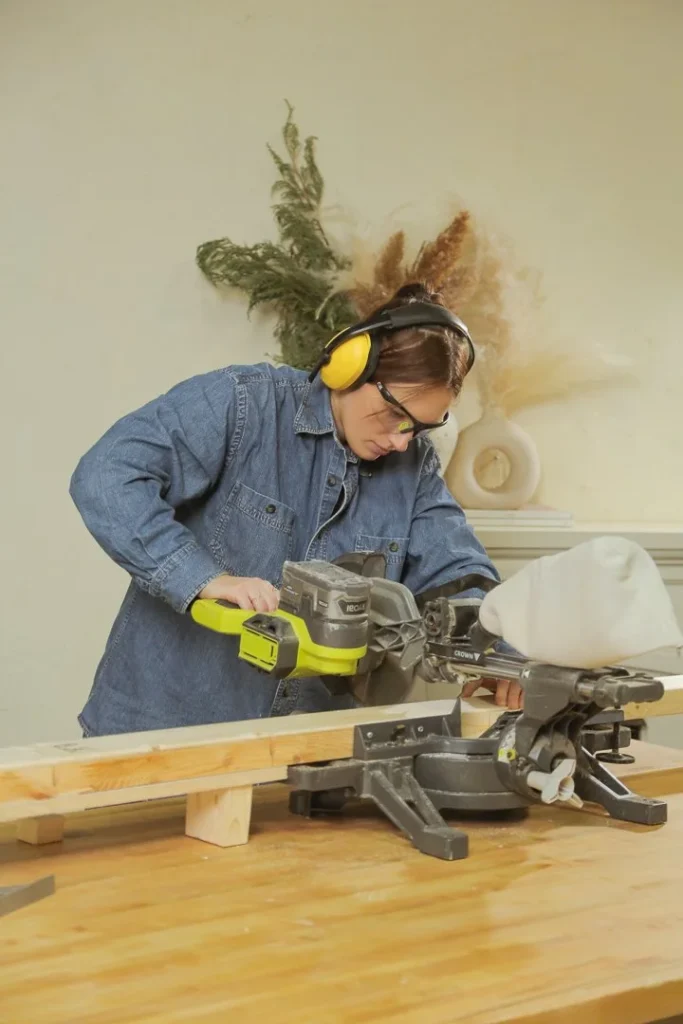
Repeat this pattern, alternating between the 2x4s and 1x4s until you’re out of wood.This project is pretty repetitive, but simple.
Cost comparison
Breaking it all down, I personally think that this DIY turned out beautifully, and better yet, I was able to customize it to fit the space that I was working with. I especially love that I was able to stay well within my budget! Breaking it all down, I personally think that this DIY turned out beautifully, and better yet, I was able to customize it to fit the space that I was working with. I especially love that I was able to stay well within my budget!